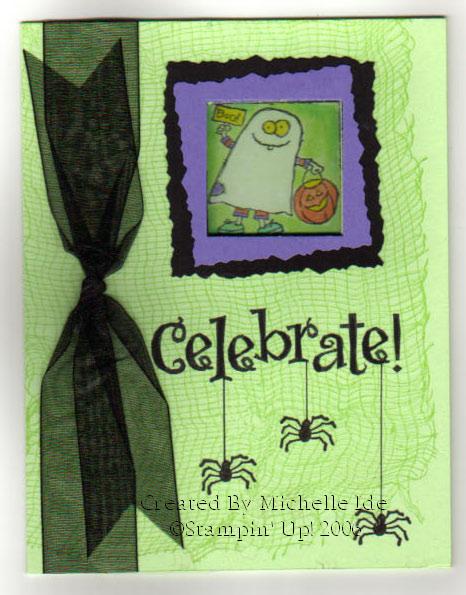
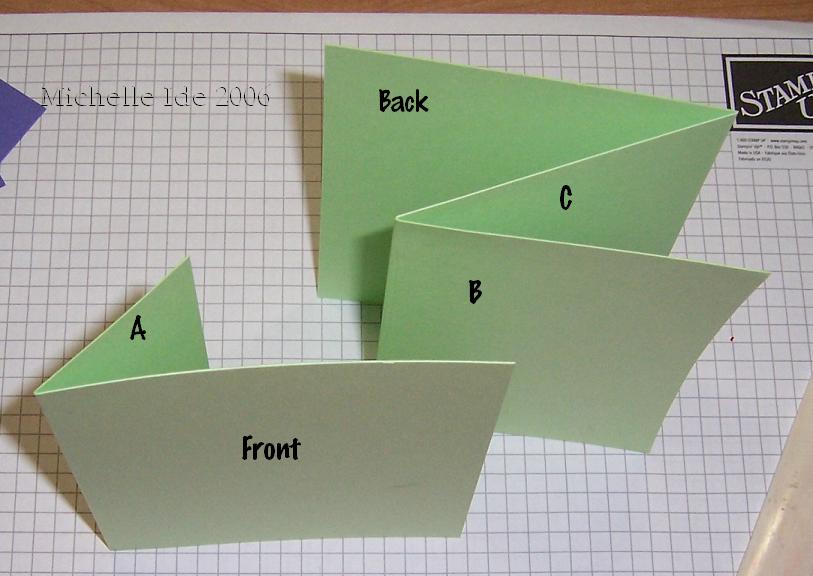
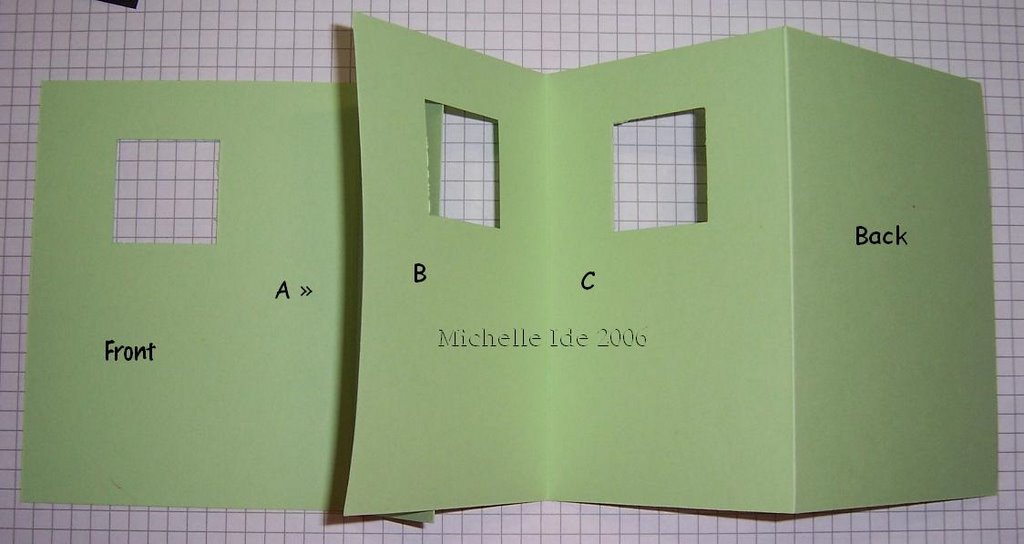
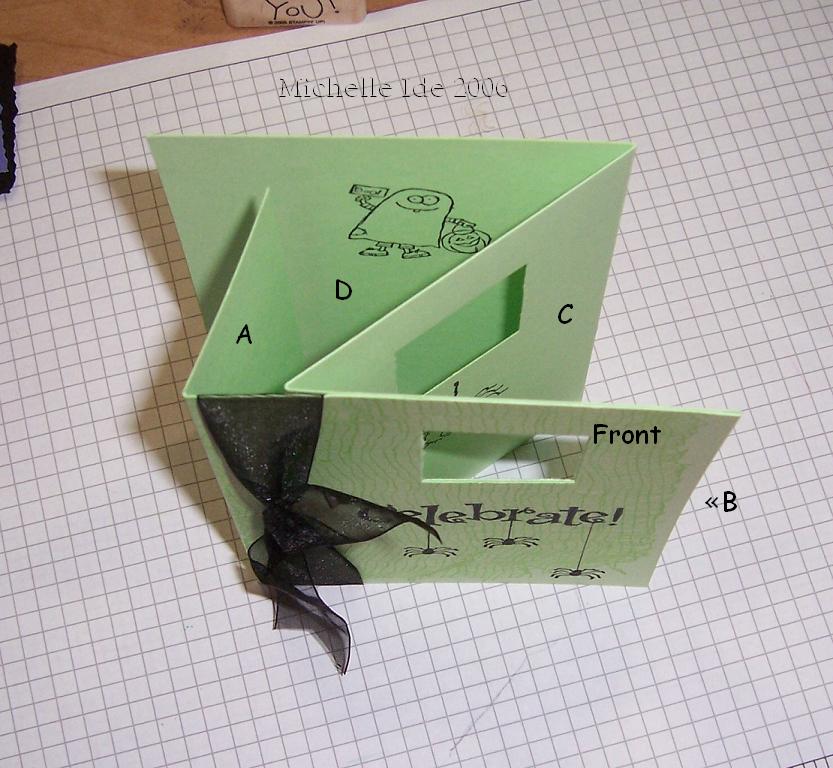
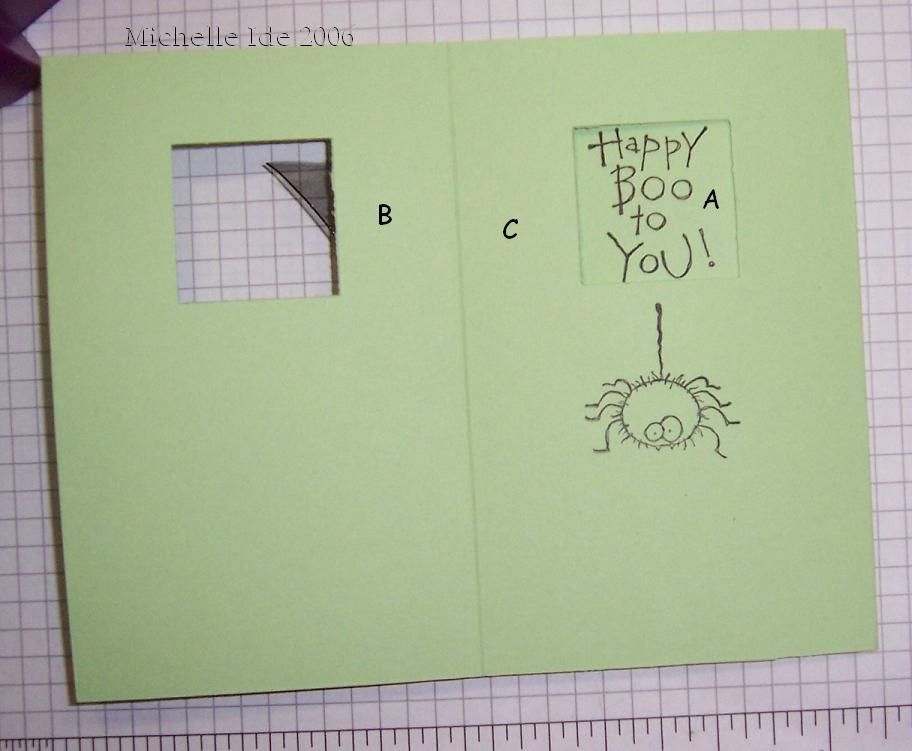
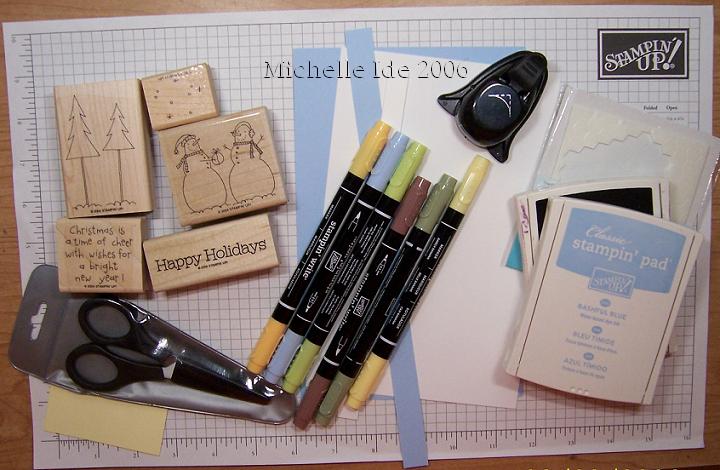
My family has such drama (understatement of the year - lol) that it's not always possible to get together for special occasions. I don't want any of the children to feel left out or forgotten so I try to create extra special cards and notes to celebrate their birthdays and other important days in their lives. This is the card that I made for my nephew, Timmy, who will be turning 12 tomorrow. He's had such a hard life that I want him to know how amazing my husband and I think he is and that we love him so much.
This is such a fun card that I just had to share the directions that I came up with. I'm sure there are other ways (and possibly easier ways) to make it but after trial and error, here's what I do.
 Cardstock and Sizes:
(A) Basic Black - 8½" x 11"
(B1) Pumpkin Pie - 4" x 5¼"
(B2) Halloween Nights DP - 3 7/8" x 5 1/8"
(C) Pumpkin Pie - 2¾" x 4"
(D) Old Olive - 4" x 3¼"
(E) Basic Black - 2 5/8" x 3 1/8"
(F) Whisper White - 2½" x 3"
(G) Old Olive - 4½" x 2 7/8"
Cardstock and Sizes:
(A) Basic Black - 8½" x 11"
(B1) Pumpkin Pie - 4" x 5¼"
(B2) Halloween Nights DP - 3 7/8" x 5 1/8"
(C) Pumpkin Pie - 2¾" x 4"
(D) Old Olive - 4" x 3¼"
(E) Basic Black - 2 5/8" x 3 1/8"
(F) Whisper White - 2½" x 3"
(G) Old Olive - 4½" x 2 7/8"
 Cardstock and Sizes:
(A) Basic Black - 8½" x 11"
(B1) Pumpkin Pie - 4" x 5¼"
(B2) Halloween Nights DP - 3 7/8" x 5 1/8"
(C) Pumpkin Pie - 2¾" x 4"
(D) Old Olive - 4" x 3¼"
(E) Basic Black - 2 5/8" x 3 1/8"
(F) Whisper White - 2½" x 3"
(G) Old Olive - 4½" x 2 7/8"
Cardstock and Sizes:
(A) Basic Black - 8½" x 11"
(B1) Pumpkin Pie - 4" x 5¼"
(B2) Halloween Nights DP - 3 7/8" x 5 1/8"
(C) Pumpkin Pie - 2¾" x 4"
(D) Old Olive - 4" x 3¼"
(E) Basic Black - 2 5/8" x 3 1/8"
(F) Whisper White - 2½" x 3"
(G) Old Olive - 4½" x 2 7/8"
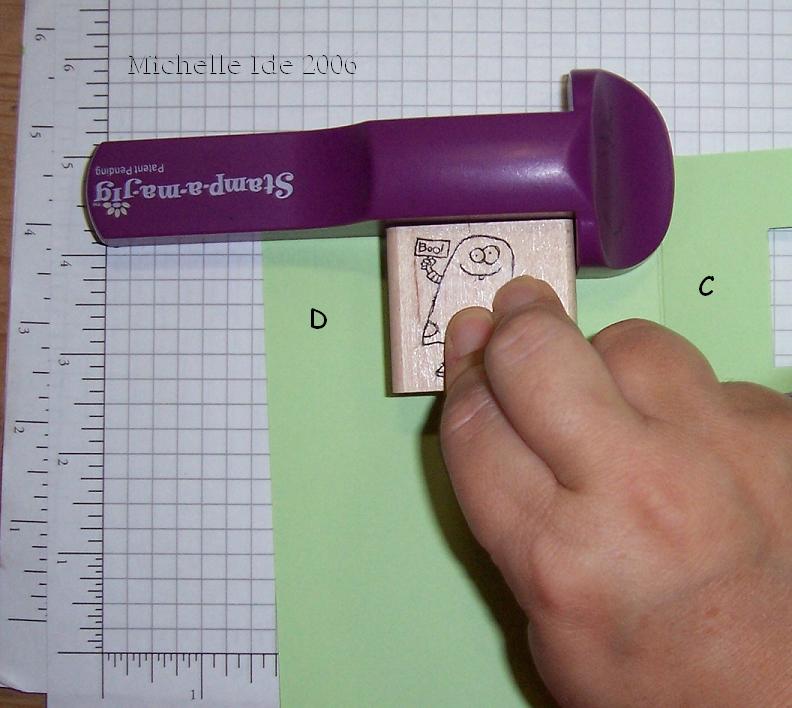
 Decorate (F) and attach it to (E). Then stamp two sayings on (C), one at the top and one at the bottom, making sure that you have at least 3½" between the sayings for the sliding layer.
 Center (C) onto (B). You don't have to have 2 layers for B. I wanted to use the designer paper and it wasn't sturdy enough so I cut it down slightly (1/8") and layered it on Pumpkin Pie.
NOTE : Also at this step (I forgot), using a circle punch, punch a semi circle in the center of the bottom of (B). See finished picture.
Center (C) onto (B). You don't have to have 2 layers for B. I wanted to use the designer paper and it wasn't sturdy enough so I cut it down slightly (1/8") and layered it on Pumpkin Pie.
NOTE : Also at this step (I forgot), using a circle punch, punch a semi circle in the center of the bottom of (B). See finished picture.

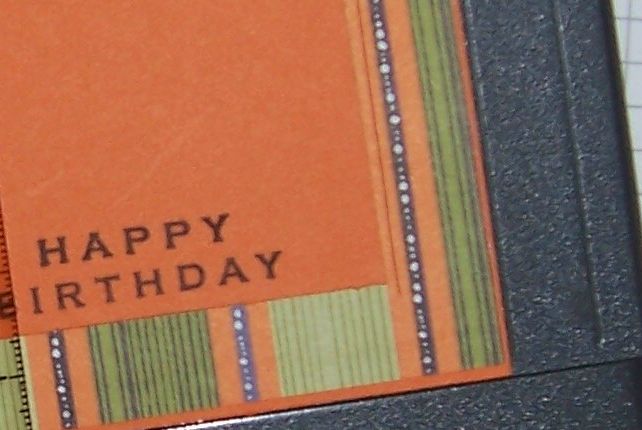 Using either your cutter or a ruler and an exacto knife, cut a slot on each side of (C) that is about (doesn't need to be exact) 1/16" from the edge and extends about 1/8" past the bottom and top edge (see close up).
 Slide (D) in the two slots so that the ends are towards the back of the cardfront.
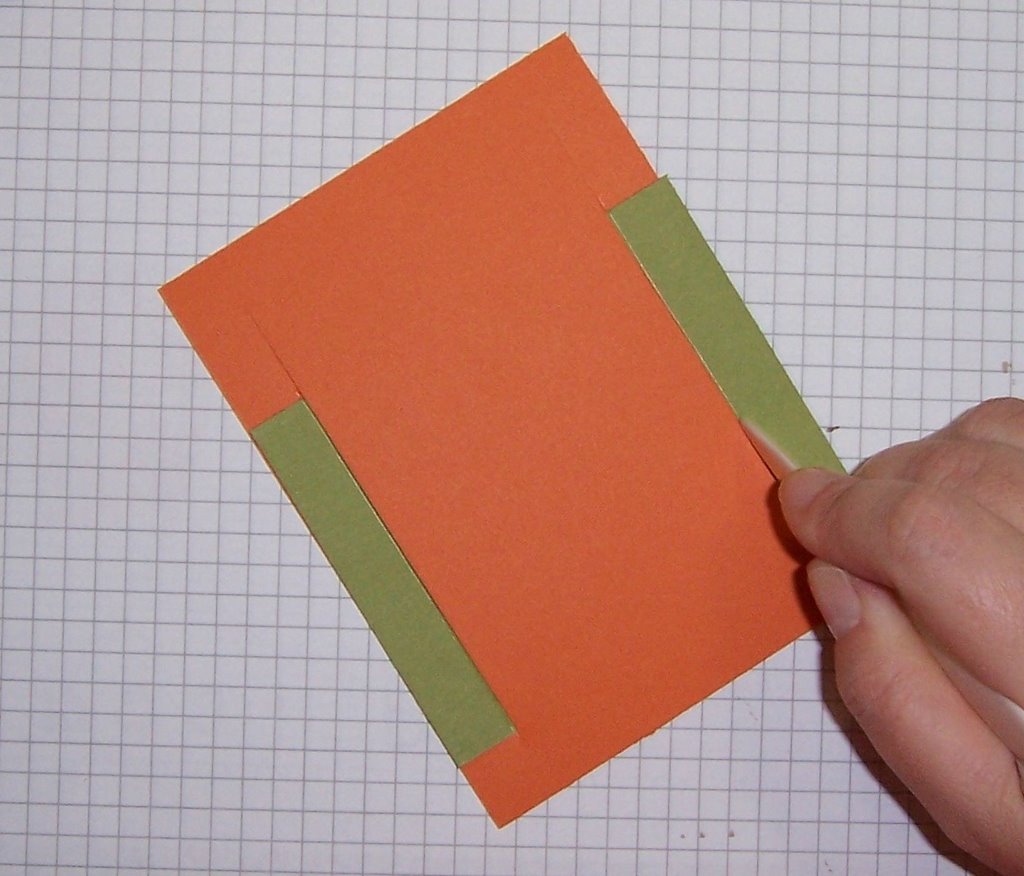 Using the bone folder (or the cutter with a scoring blade), score (D) using the slots in (B) as your guide. Do one side and then fold it over towards the center and then score the other side. This will ensure that (D) is not folded too tightly over (B) and will allow it to slide up and down easily.
 Fold each edge towards the center of (B).
 Place (G) in the center between the two folded edges of (D) and line up the bottom edge of (G) with the bottom edge of (B). Glue the two folded edges to the back of (G) as shown. I used Tombow Mono Multi Liquid glue and it holds awesomely but some people don't like it. If that is the case then to ensure that it holds I would use Sticky tape for this step.
 Apply ¼" foam tape to both sides and to the top edge on the back of (B). As you can see I used the leftover edges from my dimensionals. You can also just use dimensionals, placing them about 1" apart.
 On the front of (B), center your image, (E) & (F), onto (D).
If you haven't done it already (I forgot) punch a semi circle in the bottom edge of (B) so you can access (G). Create a ribbon pull on the bottom edge of (G) that is centered in the semi circle.
On the front of (B), center your image, (E) & (F), onto (D).
If you haven't done it already (I forgot) punch a semi circle in the bottom edge of (B) so you can access (G). Create a ribbon pull on the bottom edge of (G) that is centered in the semi circle.

 Attach to (A) your main card and enjoy.
I hope that these directions are easy to follow but if you have any questions let me know.
Attach to (A) your main card and enjoy.
I hope that these directions are easy to follow but if you have any questions let me know.