Each month I hold a Christmas Card Class. During each class (from August to November) we make 12 Christmas Cards, 3 each of 4 different designs. If my stamping girls attend all 4 classes they will have 48 cards to send to family and friends.
This month I have a
dilemma. Class is tomorrow and I only have 3 of my cards designed. Normally this wouldn't be a problem as I work best under pressure and often design my cards the day before an event (or the morning of -
lol). But . . . I am also trying to put the finishing touches on my new stamping area in the basement so I can use it
tomorrow for class. I decided that I wanted to finish cutting the
counter tops (
ssshhhhhhh - don't tell my husband). It needed to be moved onto the cutting table but since it already had a couple of brackets screwed to the underside for me to hold on to, I decided that I could move it all by myself. Well not entirely by myself, I had three 2 year
olds looking on. I grabbed hold of the brackets and lifted and as it started to lift off the floor I remembered that it weighs over 200lbs and is just over 10 feet long and realized that this was not my brightest decision. One end started to turn to the right and the other end decided to quickly jump into the air and my right thumb got stuck in the bracket and twisted at an unnatural angle. I'm not sure if it is broken but it hurts and hurts bad! Now I can't use my right hand so I can't stamp the last card. I think that I can cut the
card stock for class and if not my
dh will help when he gets home from work.
So, my question : Do you think anyone will mind if they stamp 4 cards of 3 designs instead of 3 cards of 4 designs?
Here are the cards that I already have:
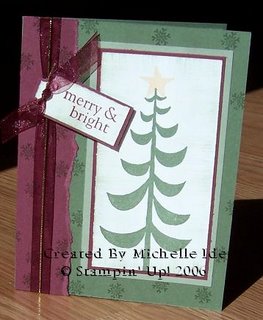
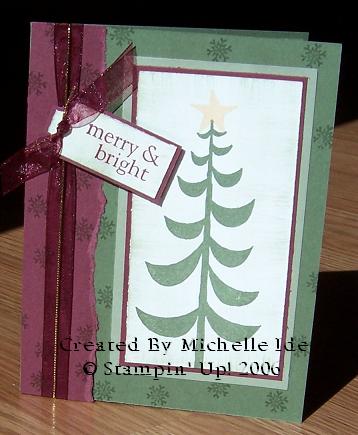
I bought this set, Holiday Trim, after seeing an amazing card by JanTink on Splitcoast. The colors are Always Artichoke, Bravo Burgundy, Mellow Moss and Apricot Appeal for the star.
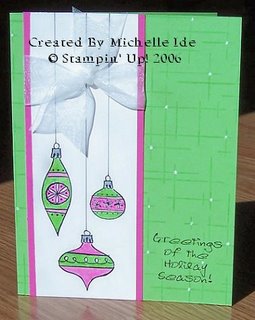
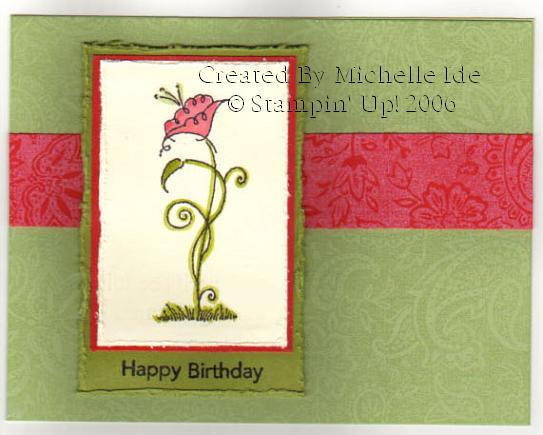
I've been wanting to use a pink and green color combination and really like how this turned out. The colors are Green Galore and Pink Passion. To color the ornaments I used Gable Green and Pixie Pink instead as the others came out too dard. The stamp sets are Ornamassortment and Crosshatch with a little white gel pen thrown in for good measure.
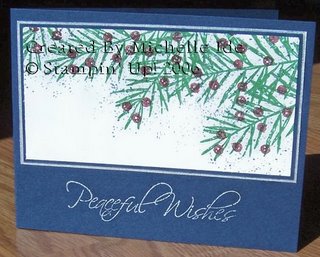
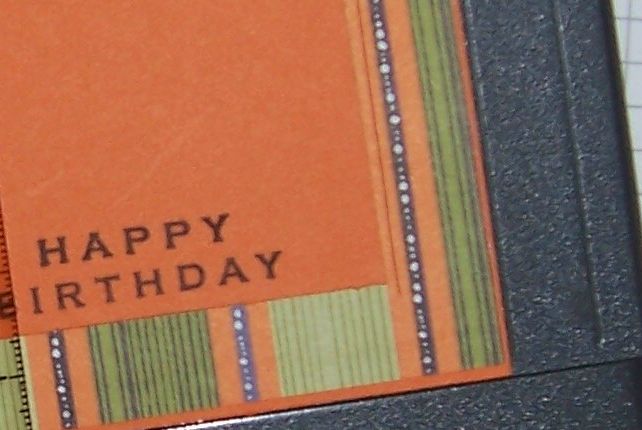
This is probably my favorite of the three. I really like this set, Peaceful Wishes, it is so versatile. The colors are Garden Green, Rose Red, Night of Navy and Silver. I also used Itty Bitty Backgrounds to create the stippling of Navy and Silver. I didn't want to use my Metallic Silver paper when so little of it is showing so instead I took another sheet of navy and used my Zig Painty to color the edges silver and then matted it. No one will ever know if you don't tell them and it is so much cheaper.
Thanks for looking!

 I bought this set, Holiday Trim, after seeing an amazing card by JanTink on Splitcoast. The colors are Always Artichoke, Bravo Burgundy, Mellow Moss and Apricot Appeal for the star.
 I've been wanting to use a pink and green color combination and really like how this turned out. The colors are Green Galore and Pink Passion. To color the ornaments I used Gable Green and Pixie Pink instead as the others came out too dard. The stamp sets are Ornamassortment and Crosshatch with a little white gel pen thrown in for good measure.
 This is probably my favorite of the three. I really like this set, Peaceful Wishes, it is so versatile. The colors are Garden Green, Rose Red, Night of Navy and Silver. I also used Itty Bitty Backgrounds to create the stippling of Navy and Silver. I didn't want to use my Metallic Silver paper when so little of it is showing so instead I took another sheet of navy and used my Zig Painty to color the edges silver and then matted it. No one will ever know if you don't tell them and it is so much cheaper.
Thanks for looking!
This is probably my favorite of the three. I really like this set, Peaceful Wishes, it is so versatile. The colors are Garden Green, Rose Red, Night of Navy and Silver. I also used Itty Bitty Backgrounds to create the stippling of Navy and Silver. I didn't want to use my Metallic Silver paper when so little of it is showing so instead I took another sheet of navy and used my Zig Painty to color the edges silver and then matted it. No one will ever know if you don't tell them and it is so much cheaper.
Thanks for looking!